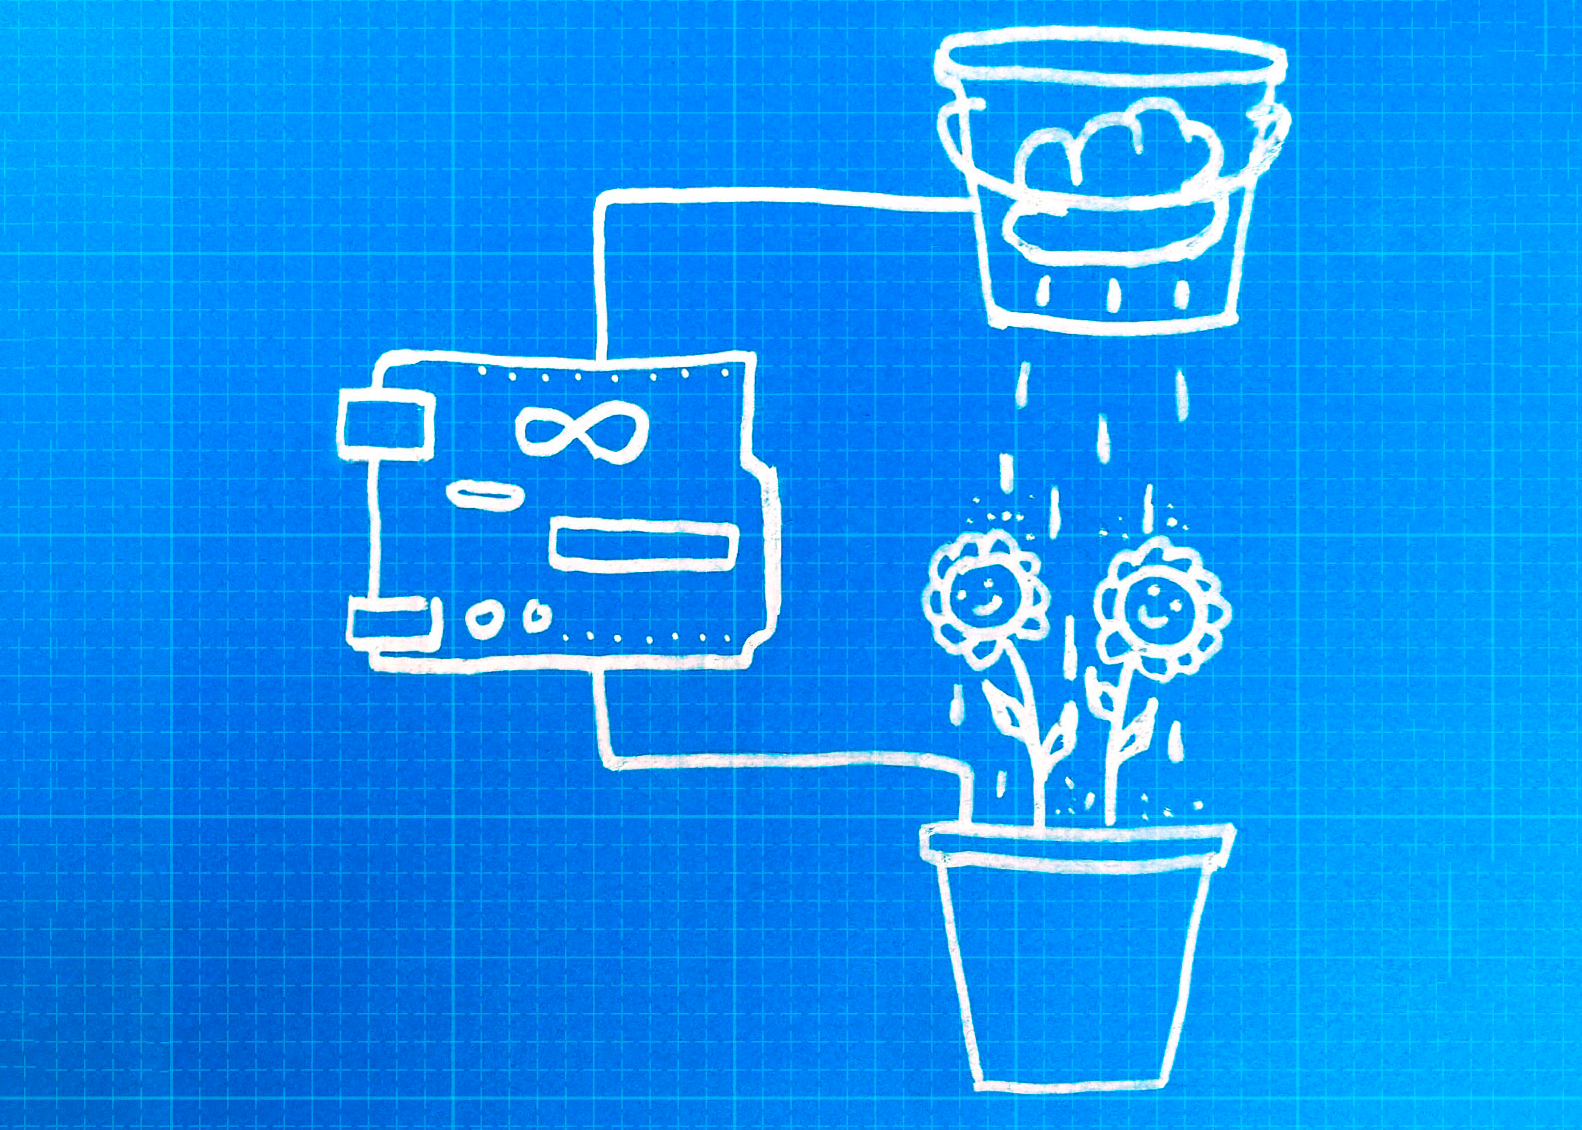
In our makerspace, we many times need to design lessons, workshops, or programs that deal with innovative tools to boost learning and interaction. One of my favorite things is to use maker kits that are easy to understand and have students creating with. However, those kits sometimes are quite expensive, especially if you are in Brazil and want to multiply active learning. Arduinos seem to be a good choice in terms of accessibility. But, if you are just like me – an educator learning new skills in order to understand tech and use this knowledge to design your lessons -, the Arduino learning curve could be a little steep. Luckily I happen to work in a space where we learn together. So, my learning path was easier because I could partner with Angelita Torres – our Computer Engineer who is everyday improving her own teaching skills.
First things first – Start with a real challenge
We all know that we need to make sure we use our planet’s water resources more carefully if we are to survive. So, making a low-cost water system is not only appealing, but also may trigger student’s curiosity. Start a vegetable garden at school and invite teachers, makers, and students to improve it by automatizing it.
Develop internal Expertise
The resource centers at Casa Thomas Jefferson are dynamic learning environments. In April, one of the activities counted
with the expertise of Larissa Goulart, who found an online tutorial, trained teachers, and delivered a session.
http://www.learnbywatch.com/automatic-watering-system-for-plants-using-arduino/
I made the circuit, uploaded the code, ran it and came to the conclusion that the code was not quite right to what I needed. My project needed to be adjusted, for I did not only need the pump off (soil wet) or on (soil dry). Angelita taught me that I would need to learn how to use the soil moisture sensor in the analog mode so that I would be able to adjust the pump to the correct amount of humidity my plant needed. See below the code that we wrote together. One tip: one of the sensor pins will need to go to an analog pin like A0 in the Arduino board.
See a complete tutorial and the codes here
Sarah - Maker, 3/Set/2024